Replacing a Washing Machine Motor
Replacing a washing machine motor can be a daunting task, but with the right tools and a bit of know-how, it’s a job that you can do yourself. Here’s a step-by-step guide on how to remove and replace a washing machine motor.
Before we begin…
- Disconnect the appliance from any power supply and isolate the supply so it cannot be accidentally reconnected while you are working on it.
- Wear gloves! While appliances are nice and smooth on the exterior and pose no risk to cuts etc, the inside of appliances can be extremely sharp as they are not designed for consumers hands to be inside the machine.
- If you are not confident in attempting any repair to a domestic appliance, then call an expert.
Materials needed:
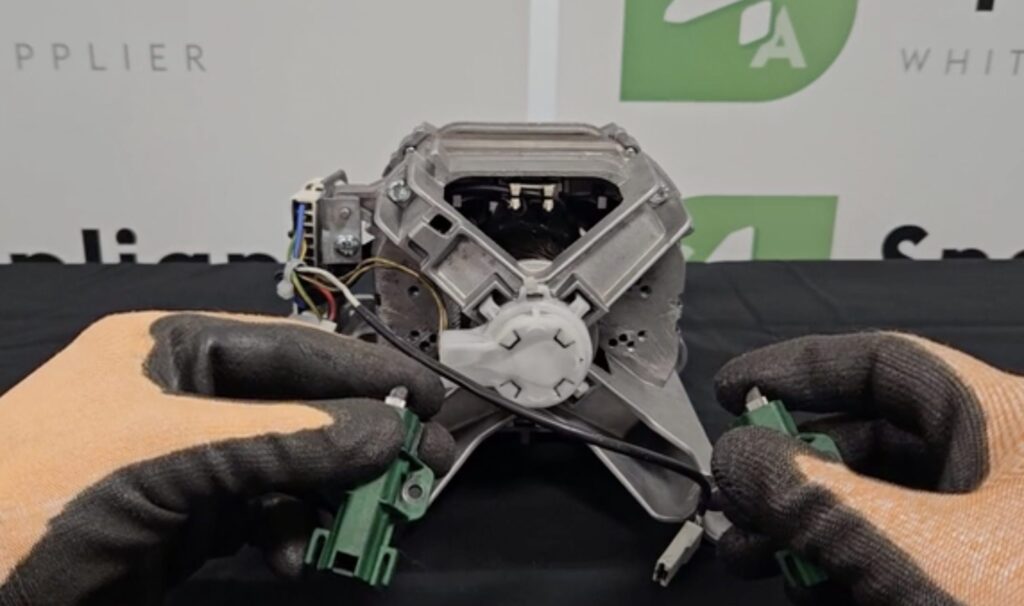
- Replacement Washing Machine Motor
- Replacement Washing Machine Carbon Brush Set
- Screwdriver
- Pliers
- Socket wrench
Instructions:
- Unplug the washing machine – The first step is to unplug the washing machine from the power outlet to ensure that there’s no electrical current running through it.
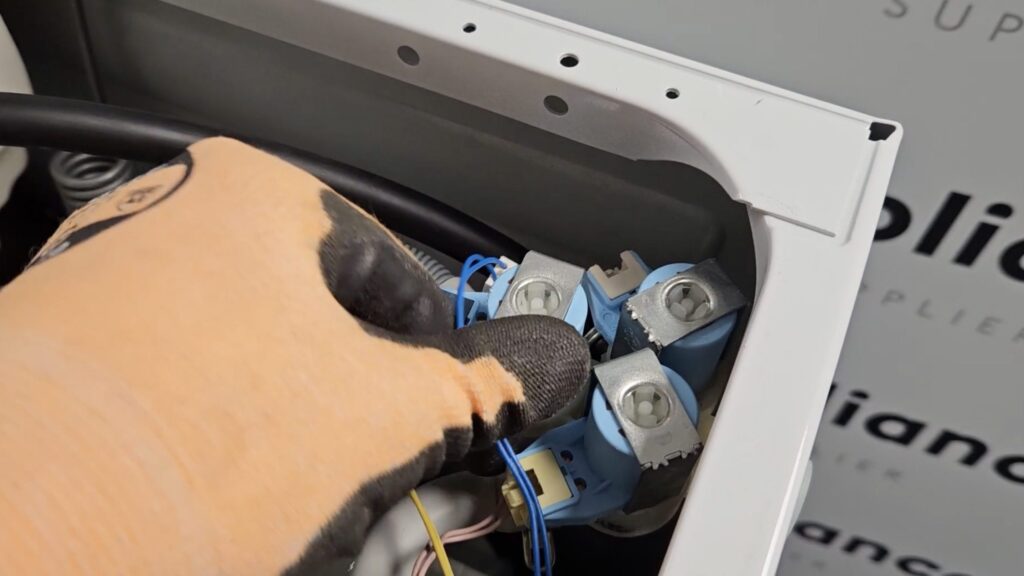
- Remove the back panel – Locate the back panel of the washing machine and use a screwdriver to remove the screws holding it in place. Once you’ve removed the screws, lift the panel off the machine to access the motor.
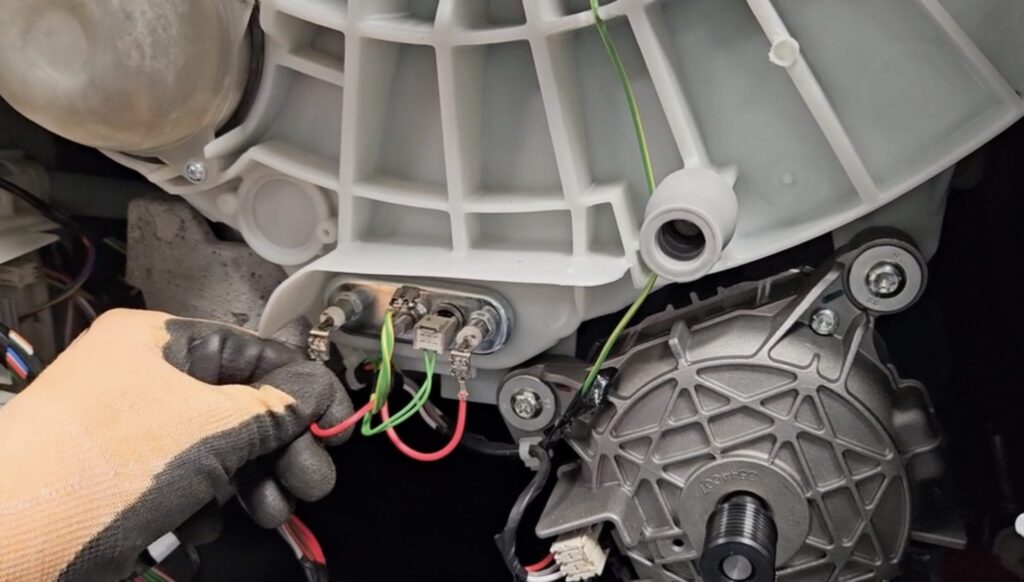
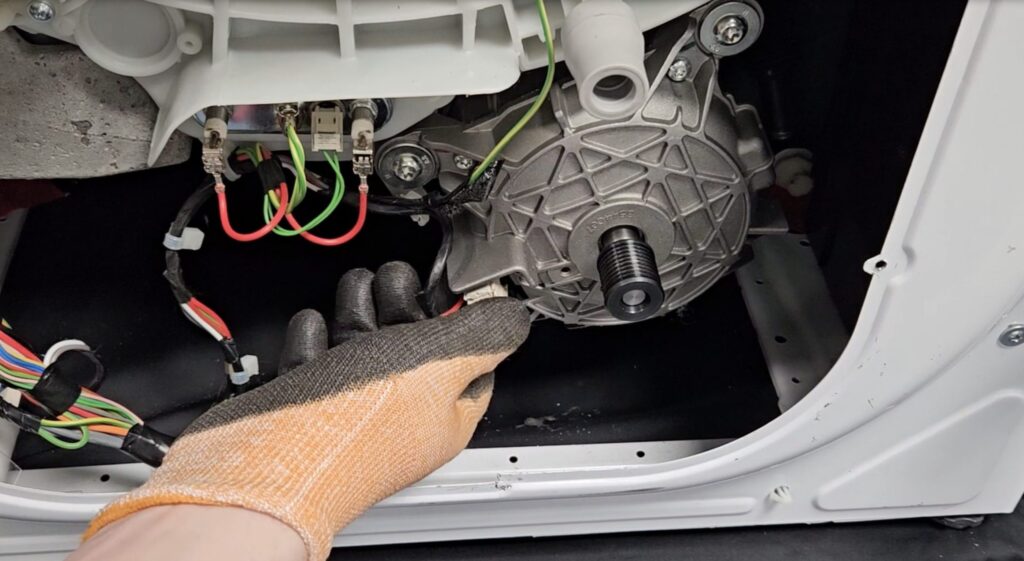
- Disconnect the motor – Locate the motor, which is typically located at the bottom of the washing machine, and identify the wires and plugs that are connected to it. Use pliers to carefully remove the connectors that are attached to the motor, taking note of where they are located so you can reconnect them later.
- Remove the motor – Use a socket wrench to loosen and remove the bolts that are holding the motor in place. Once you’ve removed the bolts, gently lift the motor out of the washing machine.
- Install the new motor – Carefully place the new motor into the same position where the old motor was installed. Use the socket wrench to tighten the bolts and secure the new motor in place.
- Reconnect the motor – Reconnect the wires and plugs to the new motor, making sure that you attach them in the same positions as the old motor.
- Replace the back panel – Once you’ve connected the new motor, replace the back panel of the washing machine and secure it in place with the screws that you removed in step 2.
- Test the washing machine – Plug the washing machine back into the power outlet and turn it on to ensure that the new motor is working correctly.
Congratulations! You’ve successfully removed and replaced the motor in your washing machine. If you’re not comfortable doing this job yourself, it’s always best to call in a professional for assistance.
Still having trouble? Explore our wide selection of Washing Machine Spares today!