Replacing a Washing Machine Motor Brush Set
If your washing machine is not functioning properly or making strange noises, it may be time to check the motor brush set. The motor brush set is responsible for providing electrical contact between the motor and the drum.
Over time, these brushes can become worn and need replacing. In this article, we will guide you through the steps to remove and replace a washing machine motor brush set.
Before we begin…
- Disconnect the appliance from any power supply and isolate the supply so it cannot be accidentally reconnected while you are working on it.
- Wear gloves! While appliances are nice and smooth on the exterior and pose no risk to cuts etc, the inside of appliances can be extremely sharp as they are not designed for consumers hands to be inside the machine.
- If you are not confident in attempting any repair to a domestic appliance, then call an expert.
Materials needed:
- Replacement Washing Machine Motor Brush Set
- Pliers
- Screwdriver (Phillips and flathead)
Instructions:
- Preparation – Before you begin, ensure that the washing machine is disconnected from the power supply. This is important for your safety as well as preventing damage to the washing machine. You will also need a few tools to carry out the task, including a screwdriver, pliers, and a replacement brush set.
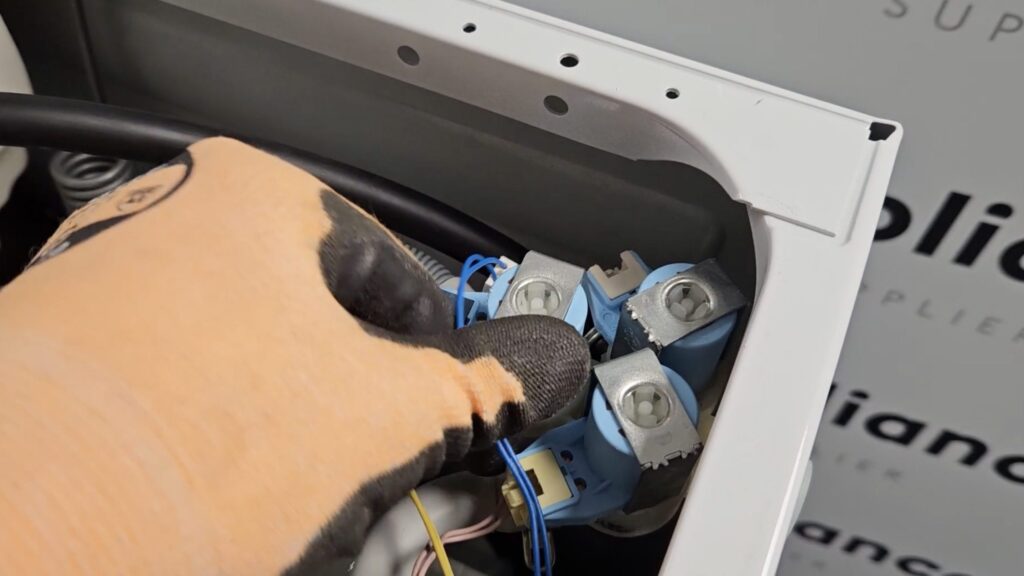
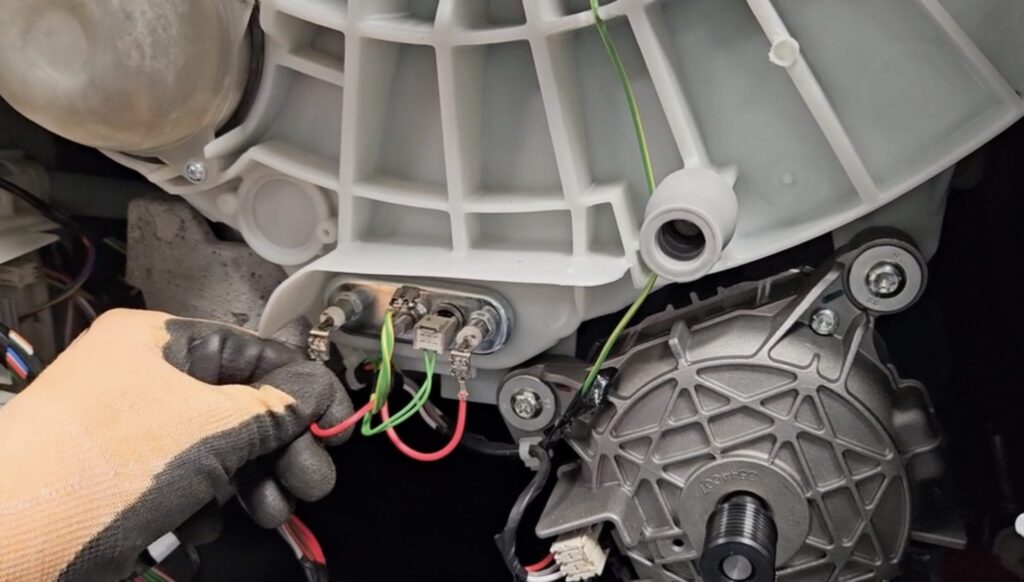
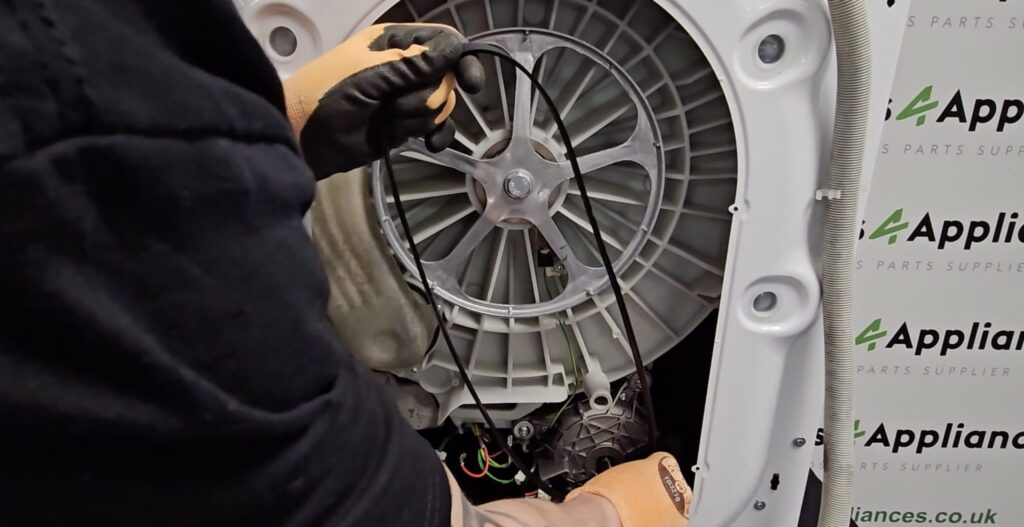
- Locate the Motor Brush Set – The motor brush set is typically located at the back of the washing machine. You will need to remove the back panel of the washing machine to access it. Use your screwdriver to remove any screws securing the panel in place. Once the panel is removed, you should be able to see the motor brush set.
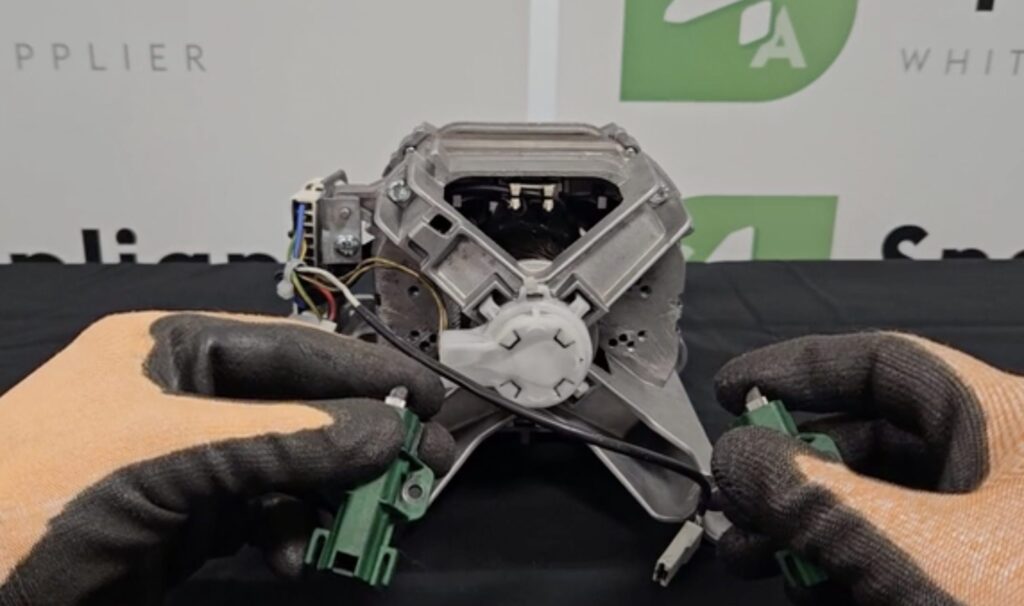
- Remove the Old Brush Set – Carefully use your pliers to remove the old brush set. The brushes are usually held in place with a spring clip or a screw. Remove the clip or screw, and then carefully pull out the old brush set.
- Clean the Motor Housing – Once the old brush set has been removed, take a moment to clean the motor housing with a soft cloth or brush. This will help to remove any debris or dirt that may have accumulated inside the motor housing.
- Install the New Brush Set – Take the new brush set and insert it into the motor housing. Ensure that the brush sits correctly in the holder and is not bent or damaged. Secure the brush in place with the spring clip or screw that was removed earlier.
- Reassemble the Washing Machine – With the new brush set in place, it’s time to reassemble the washing machine. Carefully replace the back panel and secure it with the screws. Once the panel is back in place, you can reconnect the washing machine to the power supply.
- Test the Washing Machine – Finally, turn on the washing machine and run a cycle to ensure that the motor is functioning properly. If the motor brush set was the cause of the problem, the washing machine should now be running smoothly.
In conclusion, removing and replacing a washing machine motor brush set is a straightforward task that can be carried out with a few simple tools. Always ensure that the washing machine is disconnected from the power supply before starting any work, and take care when handling the motor brush set. With a new brush set in place, your washing machine should be back to working order.
For all your Washing Machine Spares, trust Whitegoods Help!