Replacing a Tumble Dryer Filter
If you’re looking to remove and replace the filter on your tumble dryer, don’t worry – it’s a simple process that you can easily do yourself. Here’s a step-by-step guide on how to remove and replace a tumble dryer filter.
Before we begin…
- Disconnect the appliance from any power supply and isolate the supply so it cannot be accidentally reconnected while you are working on it.
- Wear gloves! While appliances are nice and smooth on the exterior and pose no risk to cuts etc, the inside of appliances can be extremely sharp as they are not designed for consumers hands to be inside the machine.
- If you are not confident in attempting any repair to a domestic appliance, then call an expert.
Materials needed:
Instructions:
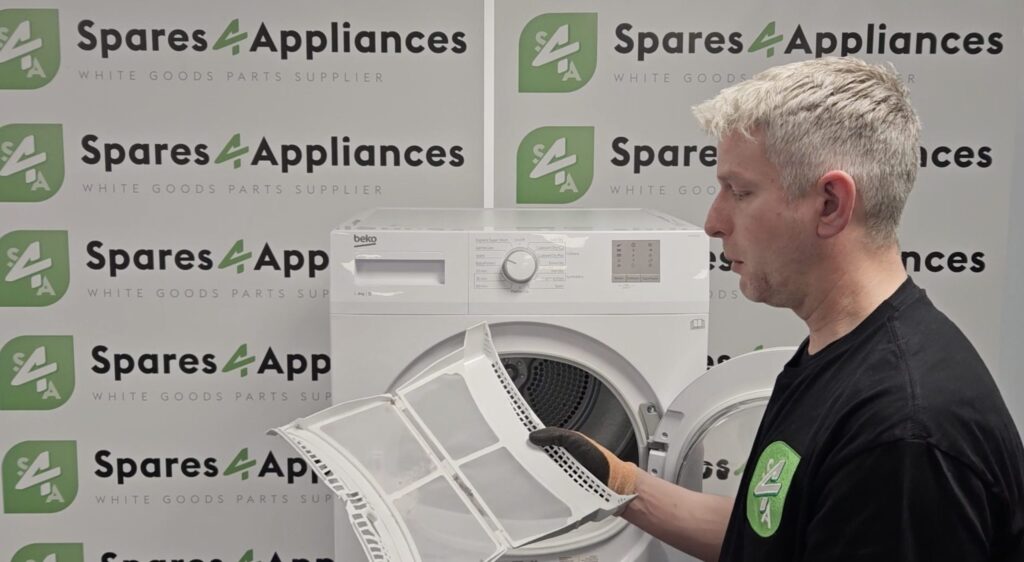
- Locate the filter – The filter is usually located at the front of the tumble dryer, near the bottom. It may be behind a small door or flap, or it may be visible without any covering. If you’re not sure where the filter is located, check your tumble dryer’s manual or look for online instructions specific to your model.
- Remove the filter – Once you’ve located the filter, remove it from the tumble dryer. Depending on the model, this may involve sliding it out of a slot, lifting it up and out of the machine, or pulling it towards you. Some filters may have a handle that you can use to pull them out, while others may require you to grip the edges and gently tug.
- Clean the filter – After removing the filter, clean it thoroughly to remove any dust, lint, or debris. You can do this by running it under water or using a soft brush to gently sweep away any dirt. Make sure to remove all of the debris, as a dirty filter can reduce your tumble dryer’s efficiency and even be a fire hazard.
- Replace the filter – Once the filter is clean and dry, slide it back into place in the tumble dryer. Make sure it’s securely in place and flush against the machine. Depending on the model, you may need to push it firmly into a slot or snap it into place.
- Test the tumble dryer – Once the filter is back in place, turn the tumble dryer back on and run it for a few minutes to ensure that everything is working properly. Check that the airflow is strong and that the tumble dryer is heating up as expected.
That’s it! With these simple steps, you can easily remove and replace the filter on your tumble dryer. Remember to clean the filter regularly to keep your machine running efficiently and reduce the risk of fire.
Need other parts for your Tumble Dryer? Check out our wide selection of Tumble Dryer Spares today, with common parts for all popular brands.