Replacing a Tumble Dryer Hose
A tumble dryer vent hose is an essential component of a dryer that helps to remove hot air and moisture from the machine during the drying process. Over time, these hoses can become damaged, worn, or clogged with lint, leading to poor dryer performance or even a potential fire hazard.
If you need to replace your tumble dryer vent hose, follow these simple steps.
Before we begin…
- Disconnect the appliance from any power supply and isolate the supply so it cannot be accidentally reconnected while you are working on it.
- Wear gloves! While appliances are nice and smooth on the exterior and pose no risk to cuts etc, the inside of appliances can be extremely sharp as they are not designed for consumers hands to be inside the machine.
- If you are not confident in attempting any repair to a domestic appliance, then call an expert.
Materials needed:
- Replacement Tumble Dryer Hose
- Duct tape
- Screwdriver (if needed)
Instructions:
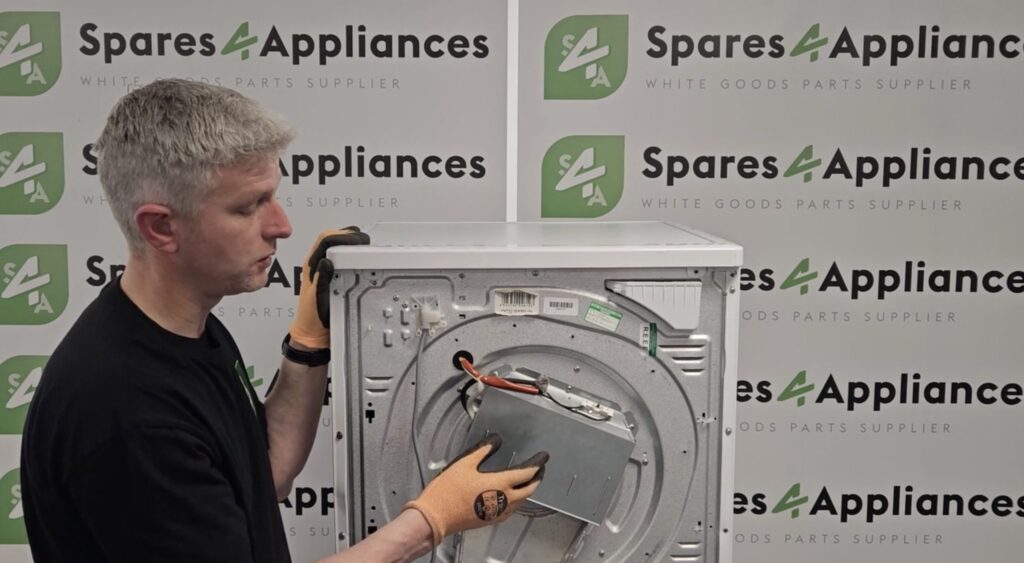
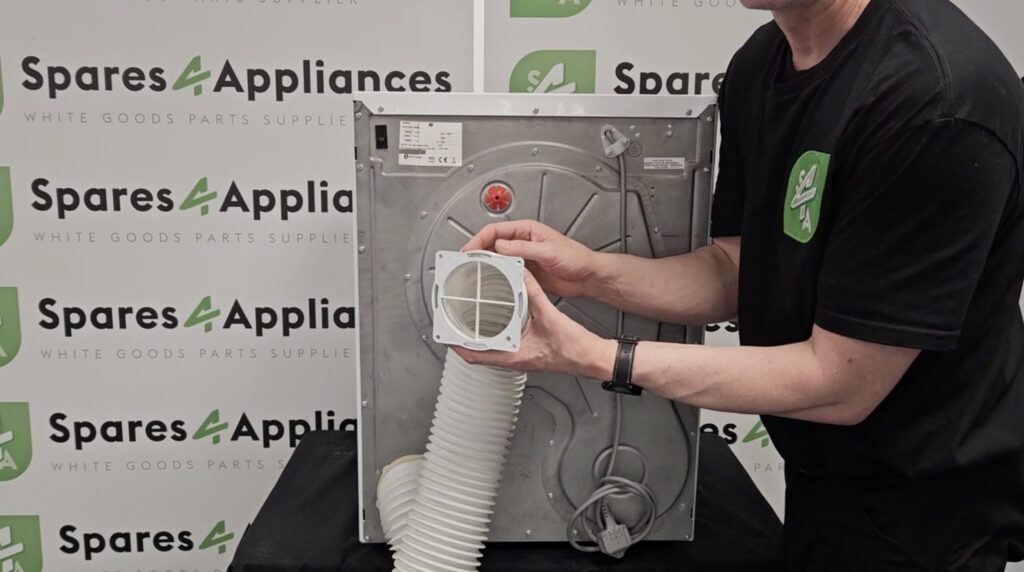
- Locate the vent hose – The vent hose is typically located on the back of the tumble dryer, running from the machine to the external vent. You may need to move the dryer away from the wall to access the hose.
- Remove the old vent hose – To remove the old vent hose, simply loosen the clamp or unscrew the mounting screws (if there are any) that hold it in place. Once the hose is loose, pull it gently away from the dryer and the vent. If the hose is difficult to remove, use a screwdriver to loosen any screws that are holding it in place.
- Measure the new vent hose – Measure the length of the old hose and use this measurement to cut the new hose to size. Ensure that the new hose is long enough to reach from the dryer to the external vent without being too tight or kinked.
- Attach the new vent hose – Place one end of the new vent hose over the vent on the back of the tumble dryer and use duct tape to secure it in place. Be sure to wrap the tape tightly around the hose to prevent any air leaks. Next, attach the other end of the hose to the external vent and secure it in place with duct tape.
- Test the new vent hose – Turn on the tumble dryer and run it for a few minutes to ensure that the new vent hose is properly attached and there are no air leaks. If you notice any problems, turn off the dryer and check the connections again.
- Clean the vent hose regularly – To prevent any future problems with your tumble dryer, be sure to clean the vent hose regularly to remove any lint or debris that may accumulate. A clean vent hose will help your dryer to run more efficiently and reduce the risk of fire hazards.
In conclusion, replacing a tumble dryer vent hose is a simple task that can be completed in just a few steps. By following these instructions and taking care to maintain your dryer’s vent hose, you can ensure that your tumble dryer continues to operate safely and effectively for years to come.
For all your Tumble Dryer Spares, trust Whitegoods Help!