Replacing a Tumble Dryer Belt
If your tumble dryer has stopped spinning or is making strange noises, it may be due to a worn or broken drive belt. Replacing the belt is a simple task that can be done with a few basic tools.
In this article, we will provide step-by-step instructions on how to remove and replace a tumble dryer belt.
Before we begin…
- Disconnect the appliance from any power supply and isolate the supply so it cannot be accidentally reconnected while you are working on it.
- Wear gloves! While appliances are nice and smooth on the exterior and pose no risk to cuts etc, the inside of appliances can be extremely sharp as they are not designed for consumers hands to be inside the machine.
- If you are not confident in attempting any repair to a domestic appliance, then call an expert.
Materials needed:
- Replacement Tumble Dryer Belt
- Screwdriver (Flathead or Phillips)
- Pliers
Instructions:
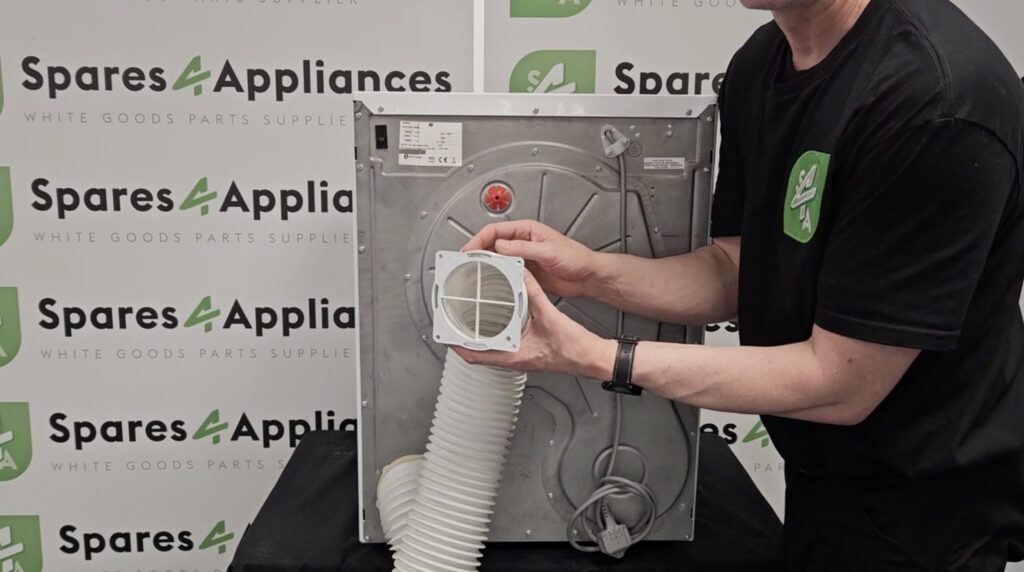
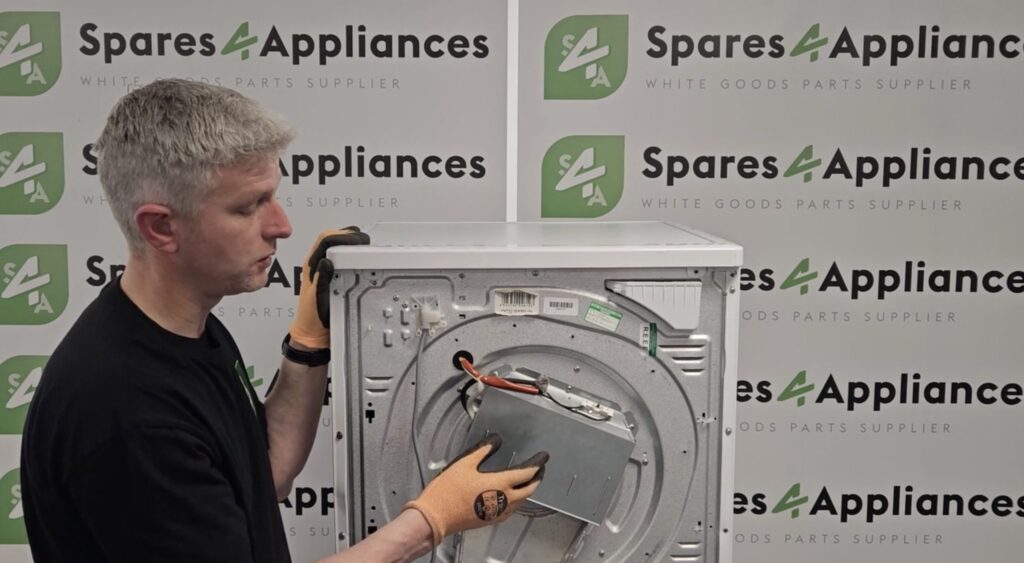
- Remove the Back Panel – Locate the back panel of the tumble dryer. Using a screwdriver, remove the screws that are holding the panel in place. Keep the screws in a safe place, so they don’t get lost.
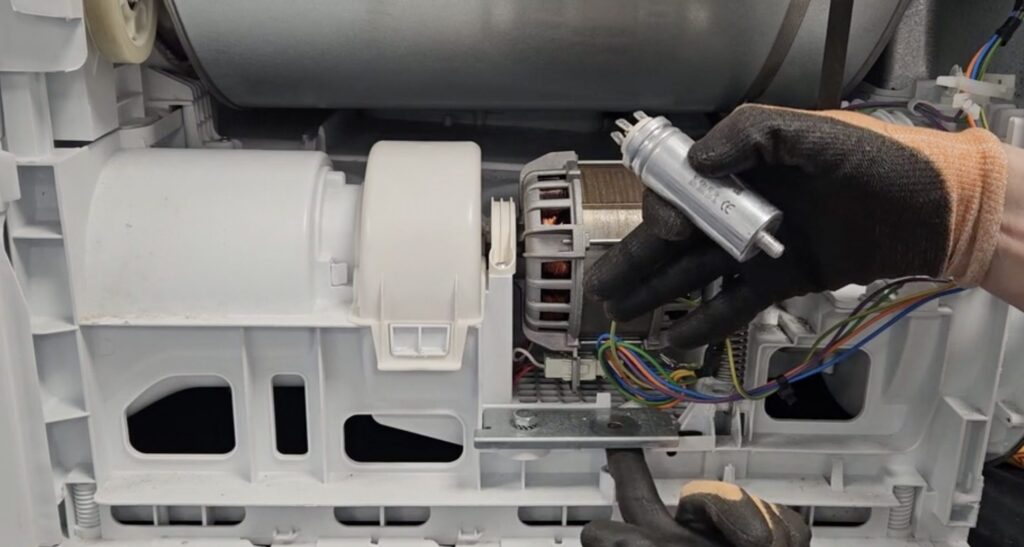
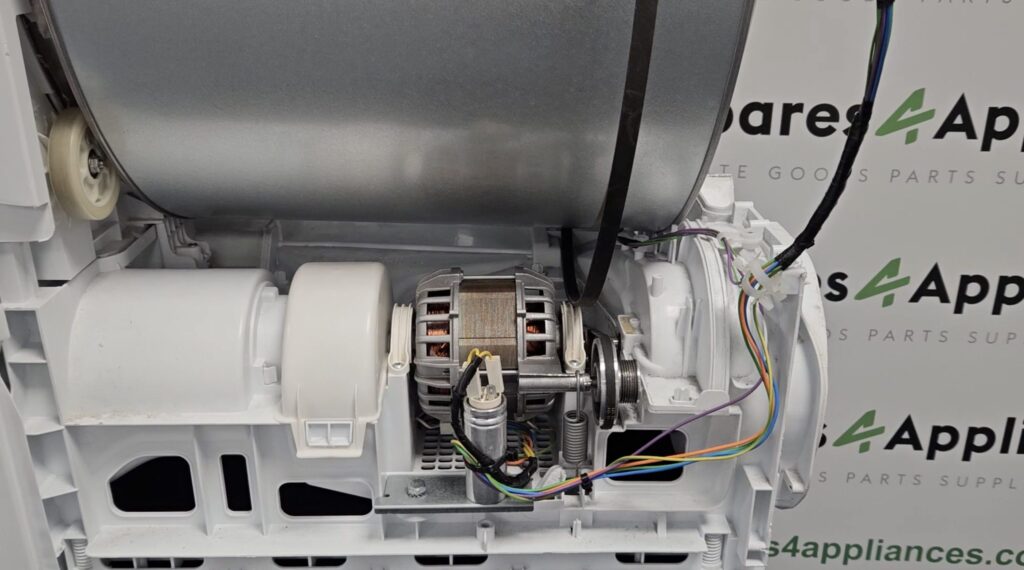
- Locate the Drive Belt – Once you have removed the back panel, you should be able to locate the drive belt. The drive belt is a rubber belt that connects the motor to the drum. If the belt is broken or worn, it will need to be replaced.
- Remove the Old Drive Belt – To remove the old drive belt, you need to release the tension. Locate the motor pulley and the tensioner pulley. The tensioner pulley will be located near the motor pulley and should have a spring attached to it. Using pliers, pull the tensioner pulley away from the motor pulley. This will release the tension on the drive belt. Carefully remove the old drive belt from the motor and the drum. If the belt is broken, you can simply remove the pieces.
- Install the New Drive Belt – Before installing the new drive belt, ensure that it is the correct size and type for your tumble dryer. Check the manufacturer’s instructions or the old belt for this information. Place the new belt around the drum, making sure it is in the same position as the old belt. Then, thread the belt over the motor pulley and onto the tensioner pulley. Release the tensioner pulley to apply tension to the new belt.
- Reassemble the Tumble Dryer – Once the new drive belt is in place, it is time to reassemble the tumble dryer. Replace the back panel and secure it with the screws. Make sure all the screws are tightened properly.
- Test the Tumble Dryer – Plug the tumble dryer back into the power source and turn it on. Allow the drum to spin for a few seconds to ensure that the new drive belt is working correctly. If everything is functioning correctly, you can start using your tumble dryer again.
In conclusion, replacing a tumble dryer belt is a simple task that can save you money and prevent the need to replace your appliance. By following these simple steps, you can replace the drive belt quickly and easily. If you encounter any difficulties, don’t hesitate to seek professional assistance.
At Whitegoods Help, we stock a wide range of Tumble Dryer Spares so you can rest assured that whatever part you need – we’ve got you covered!