Replacing a Tumble Dryer Capacitor
A tumble dryer capacitor is an electrical component that is responsible for starting the motor in the dryer. Over time, capacitors can wear out or become damaged, leading to issues with the dryer’s motor.
If you’re experiencing problems with your tumble dryer’s motor, it may be necessary to replace the capacitor. In this article, we’ll walk you through the steps involved in removing and replacing a tumble dryer capacitor.
Before we begin…
- Disconnect the appliance from any power supply and isolate the supply so it cannot be accidentally reconnected while you are working on it.
- Wear gloves! While appliances are nice and smooth on the exterior and pose no risk to cuts etc, the inside of appliances can be extremely sharp as they are not designed for consumers hands to be inside the machine.
- If you are not confident in attempting any repair to a domestic appliance, then call an expert.
Materials needed:
- Replacement Tumble Dryer Capacitor
- Screwdriver (Flathead or Phillips)
- Pliers
Instructions:
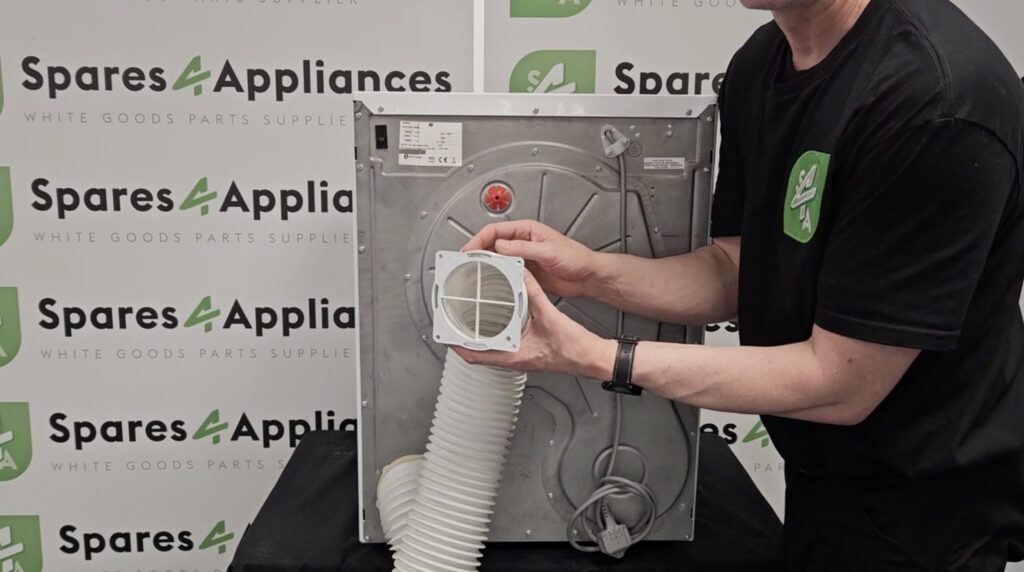
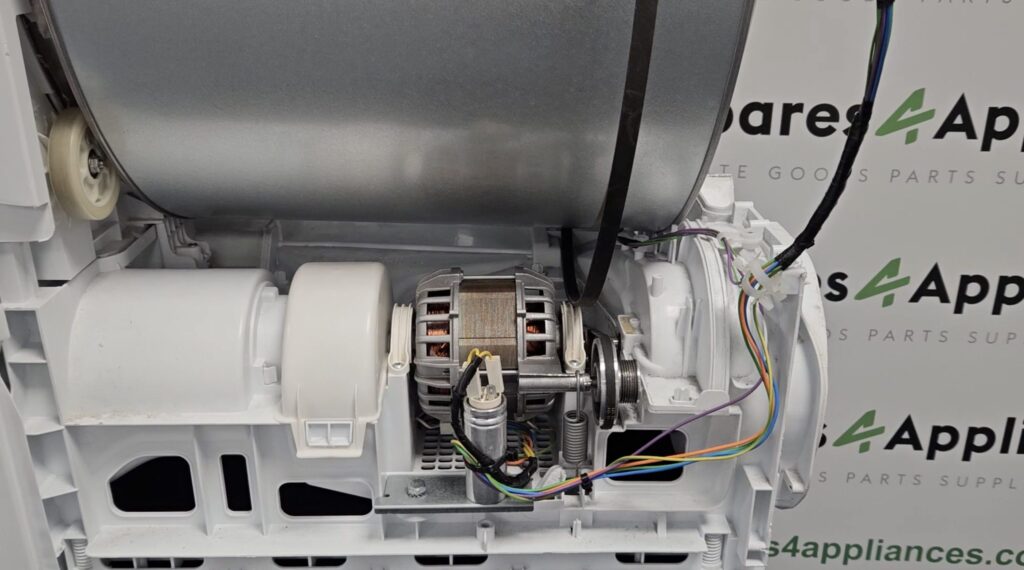
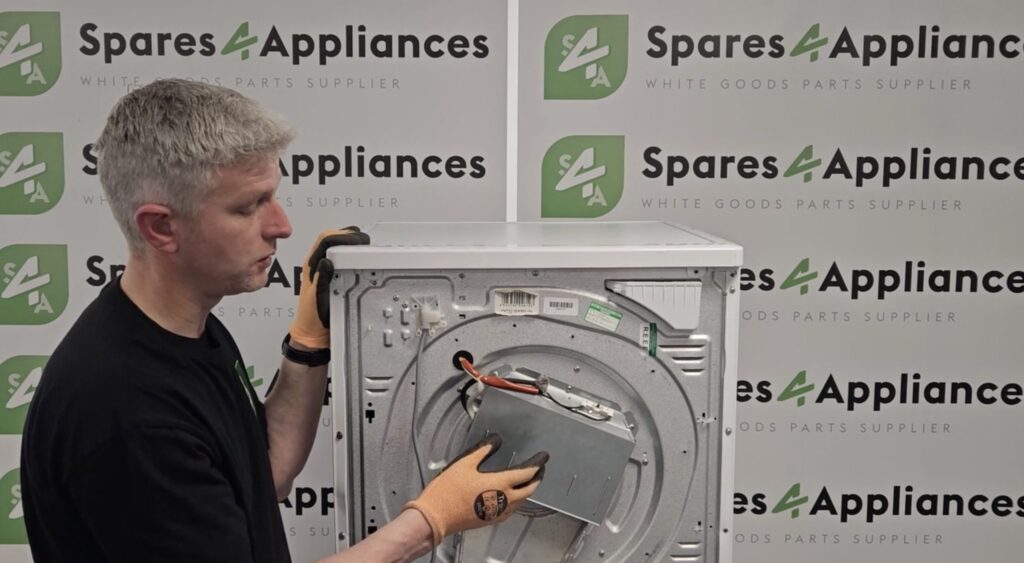
- Locate the Capacitor – The first step is to locate the capacitor in your tumble dryer. The capacitor is usually a small cylindrical component located near the motor. You may need to remove the back panel or other access panel to locate it.
- Discharge the Capacitor – Before you can safely remove the capacitor, you’ll need to discharge it. Capacitors store electrical charge, and if you don’t discharge it properly, you could get a shock. To discharge the capacitor, use a very well insulated electricians screwdriver with an insulated handle to short-circuit the terminals. Hold the metal part of the screwdriver against both terminals for a few seconds to discharge the capacitor.
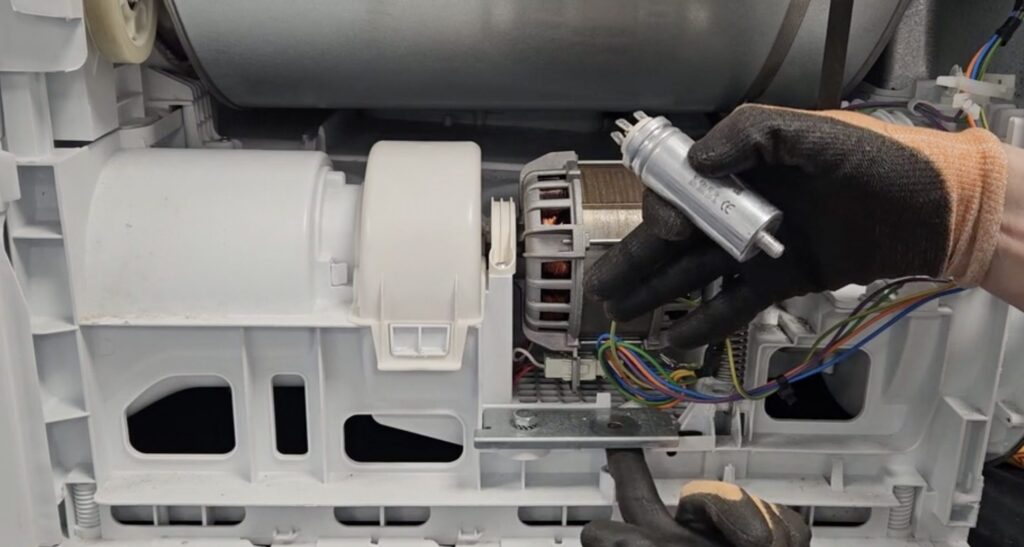
- Remove the Capacitor – Once you’ve discharged the capacitor, you can safely remove it. Use a pair of pliers to gently pull the capacitor out of its mounting bracket. Be careful not to damage the wires or any other components as you remove it.
- Install the New Capacitor – Now that you’ve removed the old capacitor, it’s time to install the new one. Make sure that the new capacitor has the same specifications as the old one. You can find this information on the label of the capacitor or in the manufacturer’s documentation. To install the new capacitor, simply connect the wires to the terminals on the capacitor. The wires should be connected in the same way that they were connected to the old capacitor.
- Test the Dryer – Once you’ve installed the new capacitor, it’s important to test the dryer to make sure that it’s working properly. Reconnect the power and turn on the dryer. If the dryer starts and runs smoothly, then you’ve successfully replaced the capacitor.
In conclusion, replacing a tumble dryer capacitor is a simple process that can be done with just a few basic tools. By following these steps, you can ensure that your tumble dryer is running smoothly and efficiently.
Remember to always take proper safety precautions when working with electrical components, and if you’re not comfortable working with electricity, it’s best to leave the job to a professional.
Check out our extensive range of Tumble Dryer Spares today and keep your appliance running smoothly for years to come!