Replacing a Cooker Hood Lamp
Cooker hoods are an essential appliance in the kitchen, and they help to get rid of smoke, steam, and cooking odours. They typically come with built-in lamps that help to illuminate the cooking area, making it easier to see what you’re doing.
Over time, these lamps may burn out and need to be replaced. Here’s a step-by-step guide on how to remove and replace a cooker hood lamp.
Before we begin…
- Disconnect the appliance from any power supply and isolate the supply so it cannot be accidentally reconnected while you are working on it.
- Wear gloves! While appliances are nice and smooth on the exterior and pose no risk to cuts etc, the inside of appliances can be extremely sharp as they are not designed for consumers hands to be inside the machine.
- If you are not confident in attempting any repair to a domestic appliance, then call an expert.
Materials needed:
- Replacement Cooker Hood Lamp
- Screwdriver (depending on the type of cooker hood)
Instructions:
- Turn off the power supply – Before you start working on your cooker hood, it’s important to turn off the power supply. This will help to prevent electric shocks and other accidents. You can either turn off the power at the circuit breaker or unplug the cooker hood from the electrical outlet.
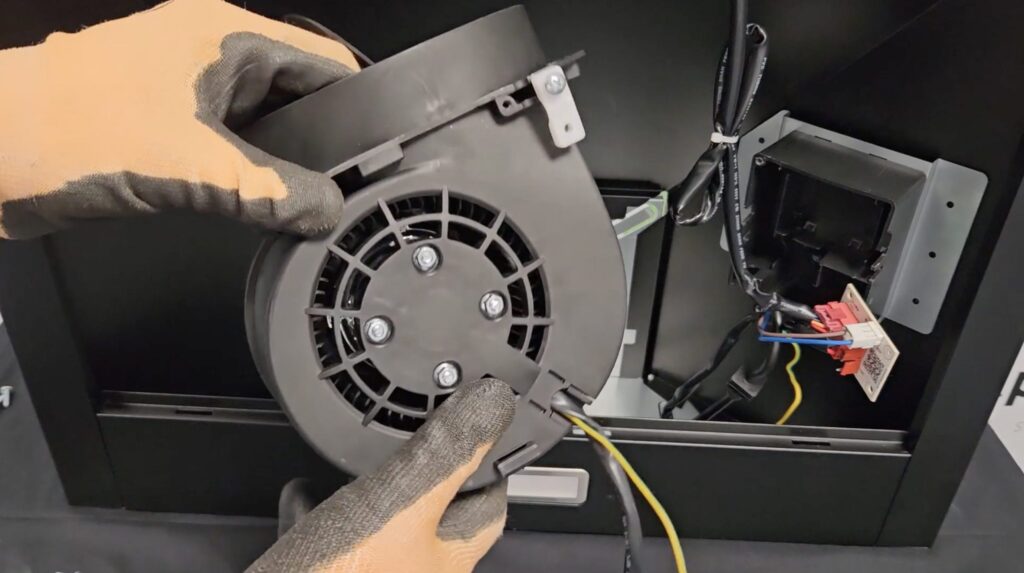
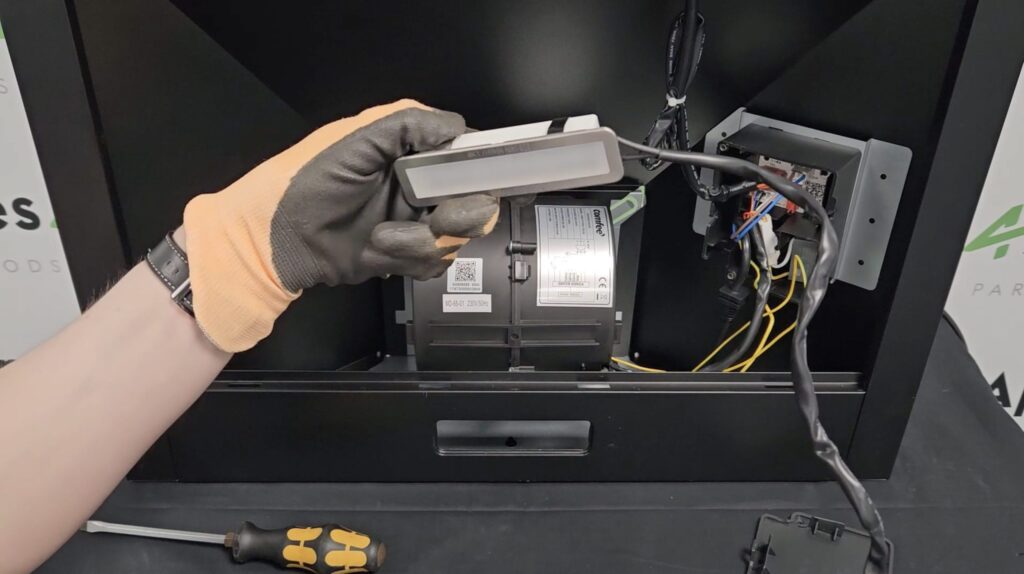
- Remove the old lamp – Once the power supply is off, you can proceed to remove the old lamp. Depending on the type of cooker hood, you may need to use a screwdriver to remove the cover that’s protecting the lamp. Be sure to read the manufacturer’s instructions for your particular model to determine how to remove the lamp. Once you’ve exposed the lamp, gently twist it counterclockwise to release it from the socket.
- Install the new lamp – After removing the old lamp, it’s time to install the new one. Simply insert the new lamp into the socket and turn it clockwise to lock it in place. Be sure to use the appropriate wattage and type of lamp that’s recommended by the manufacturer.
- Reattach the cover – If you had to remove a cover to access the lamp, reattach it using the screws or other attachments that were used to hold it in place. Make sure it’s securely in place.
- Turn the power back on – Once you’ve installed the new lamp and reattached the cover (if necessary), it’s time to turn the power back on. Flip the circuit breaker back on or plug the cooker hood back into the electrical outlet.
- Test the new lamp – Finally, test the new lamp to make sure it’s working properly. Turn on the cooker hood and see if the lamp illuminates the cooking area. If it doesn’t, double-check that the lamp is installed correctly and that the power supply is turned on.
In conclusion, replacing a cooker hood lamp is a relatively simple process that can be done in just a few steps. Be sure to follow the manufacturer’s instructions for your particular model to ensure that you’re doing it correctly and safely.
For all your Cooker Hood Repairs, you can find an extensive selection of Cooker Hood Spares at Whitegoods Help.