Replacing a Cooker Hood Filter
Cooker hoods are an essential part of any kitchen, as they help to remove smoke, steam, and other pollutants from the air while cooking. Over time, the filters in your cooker hood can become clogged with grease and grime, reducing their effectiveness.
In this article, we will guide you through the process of removing and replacing a cooker hood filter.
Before we begin
- Disconnect the appliance from any power supply and isolate the supply so it cannot be accidentally reconnected while you are working on it.
- Wear gloves! While appliances are nice and smooth on the exterior and pose no risk to cuts etc, the inside of appliances can be extremely sharp as they are not designed for consumers hands to be inside the machine.
- If you are not confident in attempting any repair to a domestic appliance, then call an expert.
Materials needed:
- Replacement Cooker Hood Filter
- Screwdriver (depending on the type of cooker hood)
Instructions:
- Turn off the Power – Before starting, turn off the power to the cooker hood. This can usually be done by switching off the circuit breaker that controls the appliance. This step is crucial for your safety.
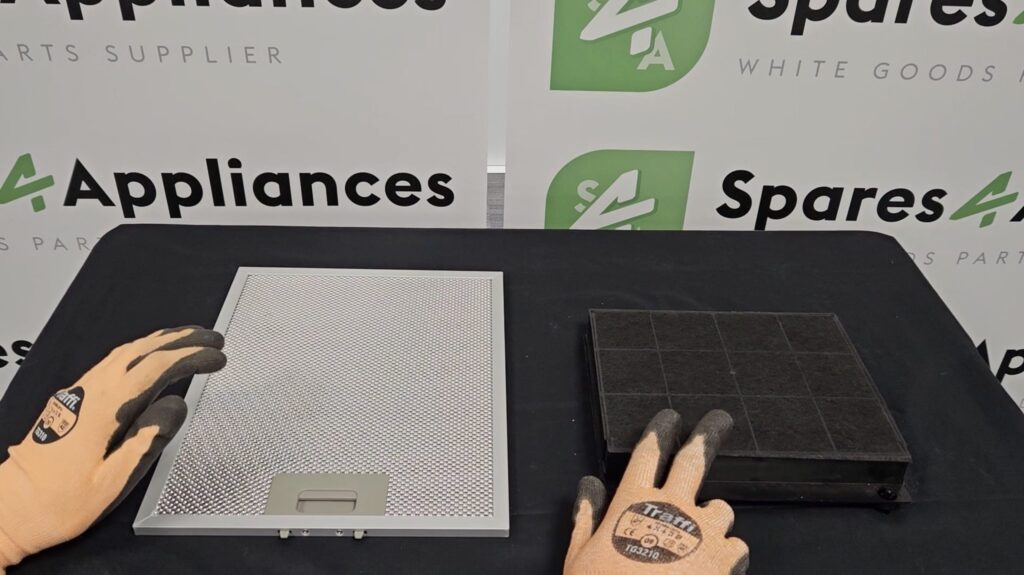
- Identify the Filter Type – There are different types of filters used in cooker hoods, including charcoal filters and metal mesh filters. Before you proceed with the replacement, ensure that you have the correct replacement filter for your cooker hood. Check the manufacturer’s instructions or manual if you’re unsure.
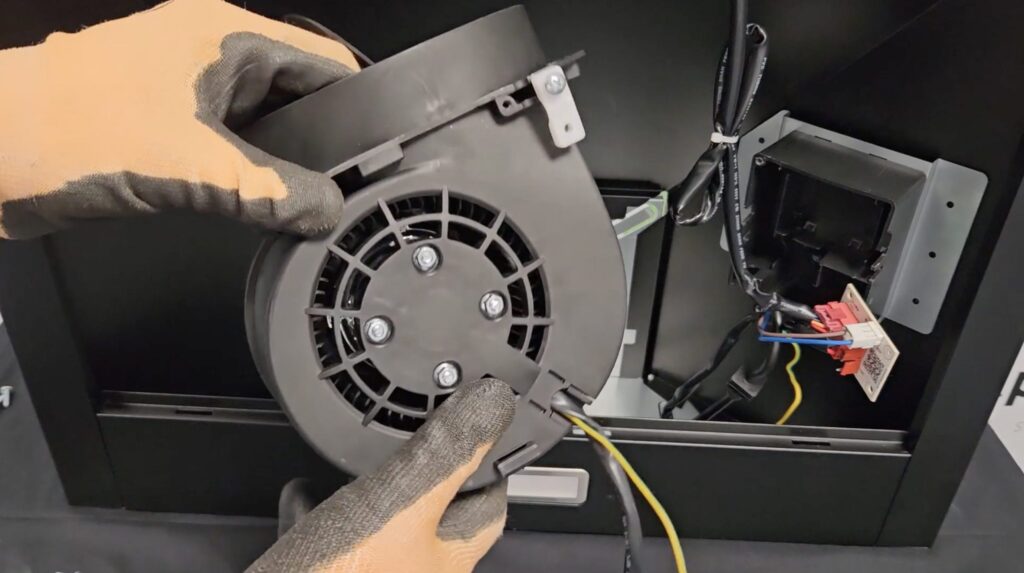
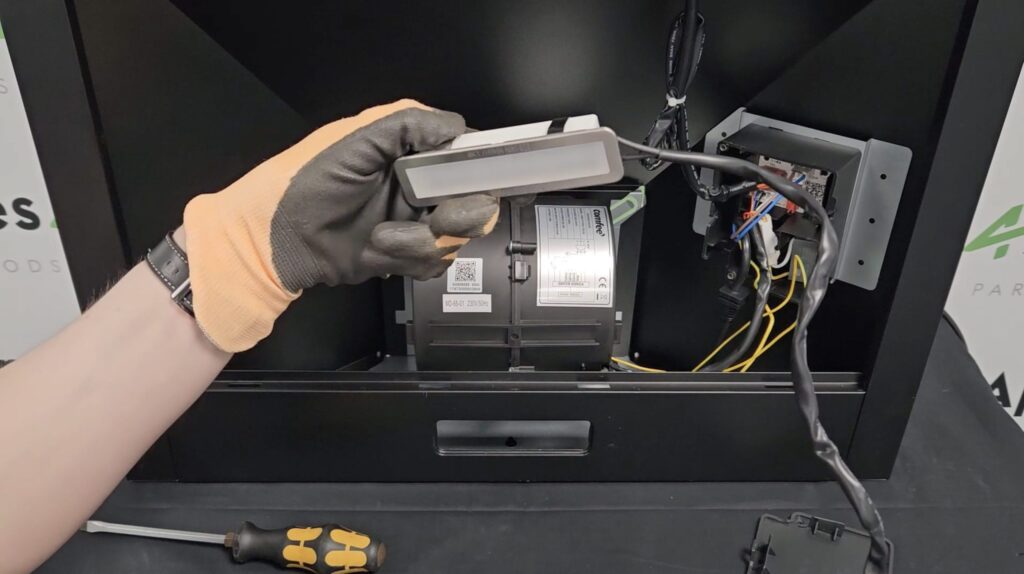
- Remove the Old Filter – Locate the filter compartment in your cooker hood. It is usually located at the bottom of the hood or at the rear. If you have a metal mesh filter, you can remove it by pushing the filter upwards and sliding it out. For a charcoal filter, you may need to turn it counterclockwise to unlock it before pulling it out.
- Clean the Filter Compartment – With the filter removed, it is an excellent opportunity to clean the filter compartment. Use a damp cloth to wipe away any debris or dust that may have accumulated.
- Install the New Filter – Take the new filter and place it in the filter compartment, ensuring that it is securely in place. If you have a metal mesh filter, slide it in place, and if you have a charcoal filter, twist it clockwise until it locks in place.
- Test the Cooker Hood – Turn the power back on to the cooker hood and test it to ensure it is functioning correctly. Check that the new filter is correctly installed and that it is secured in place.
In conclusion, replacing the filter in your cooker hood is a straightforward task that can be done by anyone. Always ensure that you have the correct replacement filter, and follow the manufacturer’s instructions or manual for best results.
By following the steps above, you can ensure that your cooker hood continues to function effectively, providing clean air in your kitchen.
Discover our extensive range of Cooker Hood Spare Parts today for everything you need to get your appliance back up and running.