Replacing a Fridge Ice Maker
A faulty ice maker in your fridge freezer can be extremely frustrating. Fortunately, replacing a Fridge Ice Maker is a simple and straightforward process that can be completed in just a few steps.
In this instructional article, we will guide you through the process of replacing your Fridge Ice Maker.
Before we begin…
- Disconnect the appliance from any power supply and isolate the supply so it cannot be accidentally reconnected while you are working on it.
- Wear gloves! While appliances are nice and smooth on the exterior and pose no risk to cuts etc, the inside of appliances can be extremely sharp as they are not designed for consumers hands to be inside the machine.
- If you are not confident in attempting any repair to a domestic appliance, then call an expert.
Materials needed:
- Replacement Ice Maker
- Screwdriver (Phillips and/or Flathead)
- Pliers
- Nut Driver
- Towel
Instructions:
- Turn off the Water Supply – Before you begin, make sure to turn off the water supply to the refrigerator. You can usually find the water valve behind the fridge or under the sink. Turn the valve off by turning the knob clockwise until it’s fully closed.
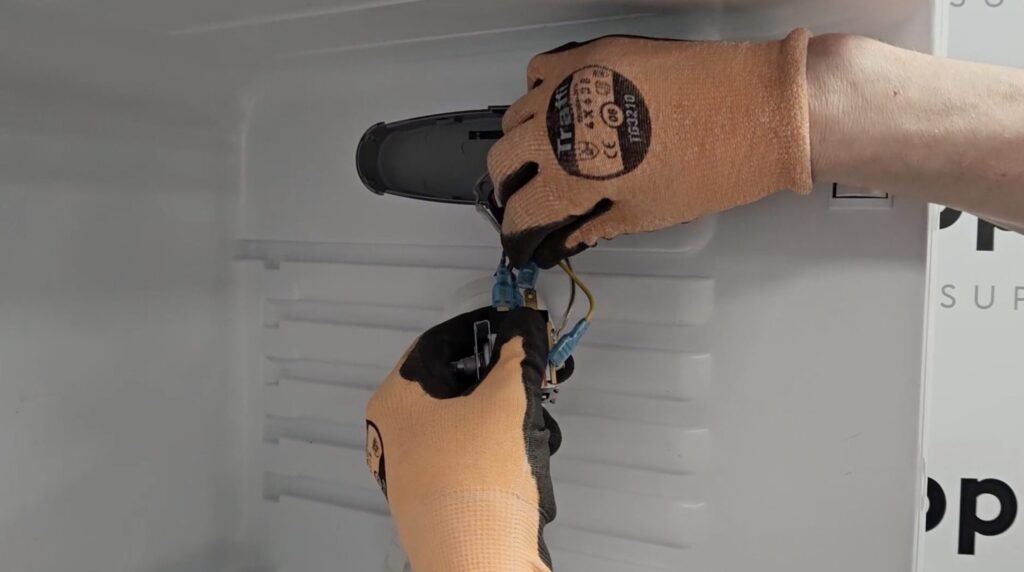
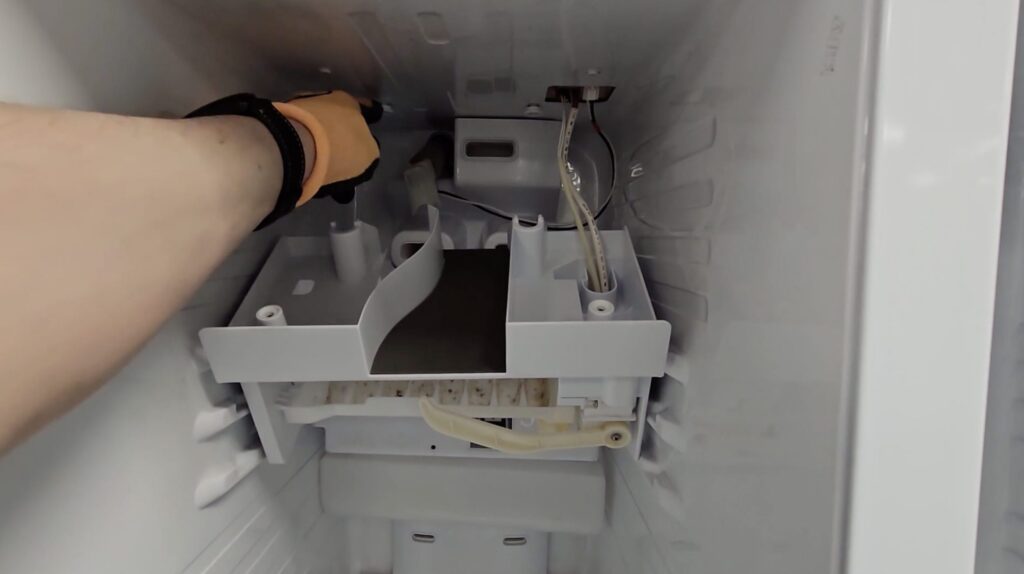
- Remove the Old Ice Maker – Next, you’ll need to remove the old ice maker. Open the freezer door and locate the ice maker. Typically, there are two screws that attach the ice maker to the freezer wall. Use a Phillips screwdriver to loosen and remove these screws. Once you’ve removed the screws, gently pull the ice maker towards you. You may need to use a bit of force to detach it from the mounting bracket. If you’re having trouble, use pliers to wiggle the ice maker free. Once the ice maker is loose, carefully disconnect the wiring harness that connects it to the fridge. Some models may have additional screws or clamps that you’ll need to remove before you can fully detach the ice maker.
- Install the New Ice Maker – Now that the old ice maker is removed, it’s time to install the new one. Start by attaching the new mounting bracket to the freezer wall using the screws that came with the new ice maker. Next, connect the wiring harness to the new ice maker. Make sure the connectors match up properly and the harness is securely fastened. Carefully align the new ice maker with the mounting bracket and push it into place. You may need to wiggle it a bit to ensure it’s secure. Finally, use a nut driver to tighten the screws that hold the ice maker in place. Make sure they’re snug but not over-tightened, as this could damage the new ice maker.
- Turn the Water Supply Back On – Once the new ice maker is installed, it’s time to turn the water supply back on. Turn the valve counterclockwise until it’s fully open.
- Test the New Ice Maker – Finally, test your new ice maker to ensure it’s working properly. Wait a few hours and check to see if it’s producing ice. If it’s not, double-check that the wiring harness is properly connected and the water supply is turned on.
That’s it! By following these steps, you should be able to remove and replace your fridge ice maker with ease. Remember, if you’re not comfortable with this process, it’s always a good idea to call a professional appliance repair technician for assistance.
If you’re in need of other Fridge Freezer Spares, then you’re in the right place!