Replacing a Dishwasher Door Seal
A dishwasher door seal is an important component that prevents water leakage and ensures efficient cleaning. Over time, the seal may become worn or damaged, leading to leaks and poor performance.
In this article, we will guide you through the process of removing and replacing a dishwasher door seal.
Before we begin…
- Disconnect the appliance from any power supply and isolate the supply so it cannot be accidentally reconnected while you are working on it.
- Wear gloves! While appliances are nice and smooth on the exterior and pose no risk to cuts etc, the inside of appliances can be extremely sharp as they are not designed for consumers hands to be inside the machine.
- If you are not confident in attempting any repair to a domestic appliance, then call an expert.
Materials needed:
- Replacement Dishwasher Seal
- Screwdriver
- Pliers
Instructions:
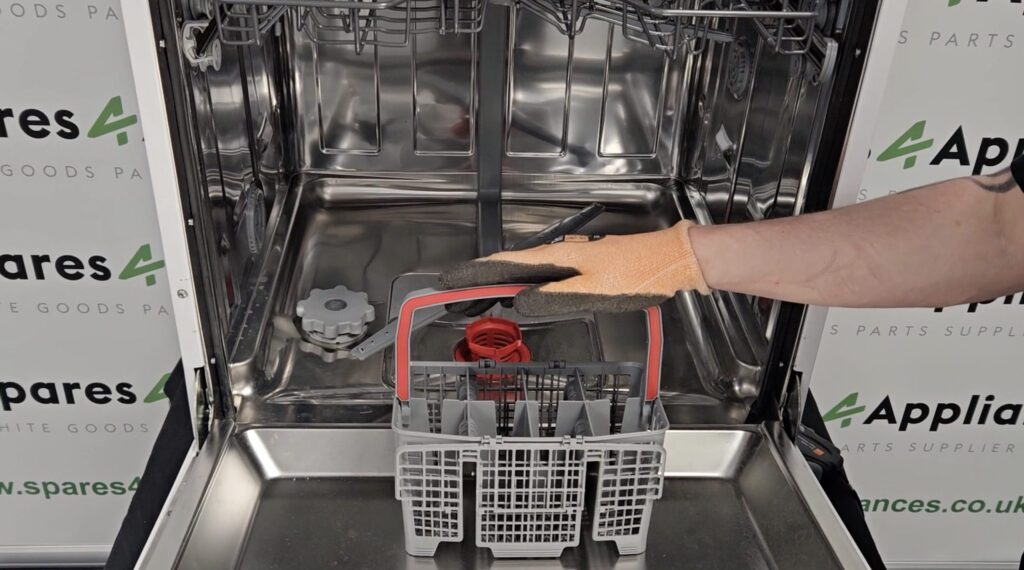
- Open the dishwasher door and locate the door seal – The door seal is the rubber gasket that runs around the inner edge of the dishwasher door. You should be able to see it by looking at the perimeter of the door opening.
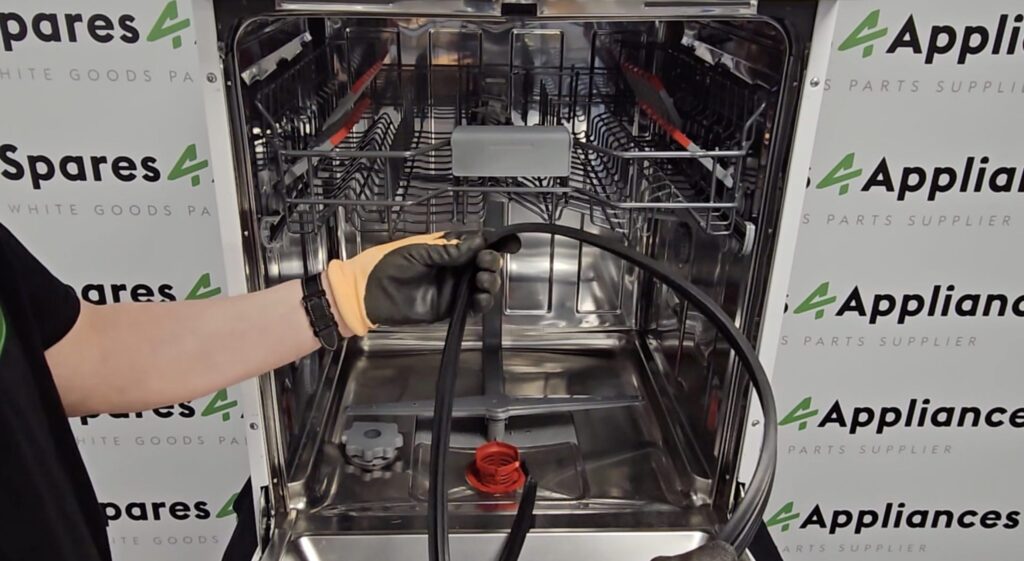
- Remove the old door seal – Using a screwdriver, loosen the screws that hold the door seal in place. Once the screws are removed, you can use pliers to gently pull the old door seal out of its groove. Be careful not to damage the groove or any other parts of the dishwasher door.
- Clean the area around the door seal – Before installing the new door seal, it is important to clean the area around the groove thoroughly. Use a clean cloth or sponge to remove any dirt or debris that may have accumulated.
- Install the new door seal – Start by inserting one end of the new door seal into the groove on the dishwasher door. Use your fingers to press the seal into place, working your way around the perimeter of the door. Be sure to press the seal firmly into the groove to ensure a tight fit.
- Secure the new door seal – Once the new door seal is in place, use a screwdriver to tighten the screws that hold it in place. Make sure that the seal is securely fastened and there are no gaps or loose areas.
- Test the dishwasher – Now that the new door seal is installed, it is important to test the dishwasher to ensure that it is working properly. Turn on the power and water supply and run a cycle to check for any leaks or other issues.
Congratulations, you have successfully removed and replaced your dishwasher door seal!
With this simple repair, you can ensure that your dishwasher continues to work efficiently and effectively for years to come.
For all your Dishwasher Spares, you can trust Whitegoods Help!